Over a decade building one boat.....what do I wish I'd known going in?
A) Build under cover if at all possible, with good tool storage right at hand. Keeps the boat dry, lets you work out of the weather.
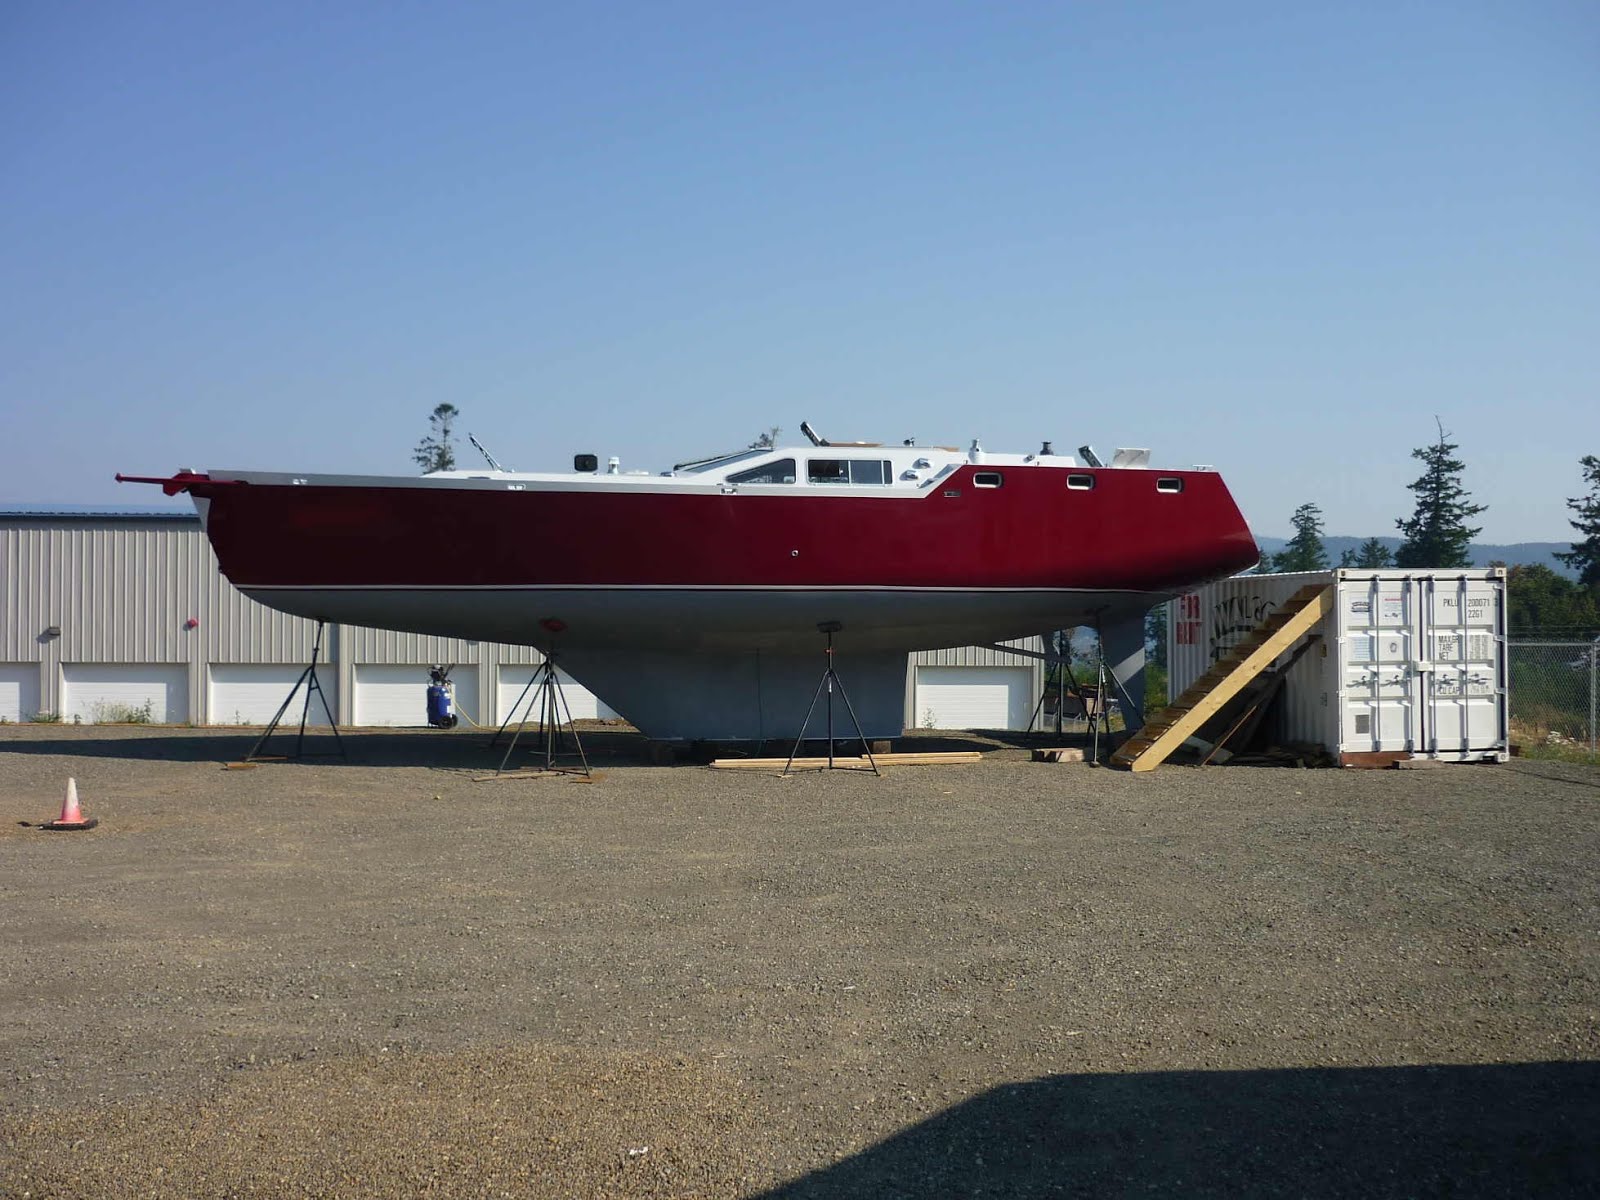
Build under cover
Build under cover!!! Royal pain fighting the weather vs getting things done.
If you can't build under cover, get a shipping container, and set up storage & a workshop inside - at least you'll have some dry work space that is easily locked up, and if you set it up right, the roof of the container becomes a deck level work platform.
B) Get a welder that runs on minimum 240VAC, and has 160 amps power minimum - 200 would be better yet. Reccommend MIG because it is easier, cleaner, and thus faster - though it does require protection from wind in order to work best. Get a long hose for the gas extension so you don't have to horse the gas bottle around. Pick a MIG model that lets you buy an inexpensive quick change spool gun for aluminum - you'll want it - even a steel boat uses aluminum for hatches, steering pedestal, radar bridge, tanks....
B2 - don't try Migging the external seams on aluminum tanks - cold starts and inclusions from any interior welds that aren't 200% cut back to clean metal will combine to create pinhole leaks - and you could have tigged all the exterior welds by the time you're done. Aluminum has to be 3x cleaner than steel to get a good weld (sure wouldn't want to try building an aluminum hull outside!). On aluminum tanks, either buy a tig (185A min for 3/16" plate, 240A for 1/4"plate), or pay a pro with a tig to do the job.
C) Get a plasma cutter that also runs on minimum 240 VAC - helps if the voltage/plug is the same as your welder. Plasma cutters are great tools - I need a straight edge to produce a smooth straight cut with one - but I lose far less metal than a cutting disc, and can do tight inside curves. They do use lots of compressed air. Set up correctly, produces a fast, clean cut.
C2 - take a real good look at the new inverter units out there - not Miller/Lincoln, because they are big bucks - but there are almost name brand (Everlast) combo units that can do mig/tig or stick/tig/plasma cutting that did not exist when I started. Caveat - not sure they'll last 10 years - they haven't been around that long - but I now have a tig/stick/ plasma cutter that I could have built the entire boat with, for a fraction of what I paid out for inidividual units along the way.
D) I have lost count of how many grinders I've worn/burnt out
Buy good ones, with long warranties (you'll use the warranty!) .
Bigger grinders last longer - and weigh more - lots more after any length of grinding - but grind faster, cut deeper - I use a rat tail 5" for most everything now - have a 4-1/2" shorty for getting into tighter spots.
Zip discs - very thin cutting discs - are incredible tools not only for cutting steel, but also for getting just the right gap on a welding joint, & cleaning up the backside of a weld. No muss, fuss, gas,hoses, set up/warm up time - plug it in and start.
flapper discs - layered coarse sandpaper - are terrific for finding just the high spots, and starting to polish vs really grind - though on edge, they'll remove material (ie gouge) very quickly too. I almost sculpture with flapper discs now.
a grinder will clean up even the ugliest weld - and reduces the future likelyhood of cracking, by eliminating stress/notch points
Longest surviving grinder is a 5" Mikida.
Dd) I almost forgot drills - you need one (or two) good cordless, and a compact 1/2" corded
- I keep 2 DeWalt 12v cordless drills on the boat, with one extra battery and a charger. My original DeWalt 12v cordless is pushing 15yrs old, and still going very strong, though the original battery died after 12 years. Use pretty well every day we're building. Update - 2nd set of batteries died (after only 5 yrs), and it was cost effective to upgrade - went with 20v Lion DeWalt, the tools are awesome. Seldom ever pull out the corded drill now.
- I had a reasonably compact Mitkida 1/2" for about 10 years - it was vey good - when someone stole it out of my truck. When I went to replace, they no longer made the compact version, so I switched to a very compact variable speed 1/2" Hitachi D13VG - 650 inlb = almost enough torque to break your arm, with a body that let's you get very close to bulkheads. Have used it many times to bore up to 3" dia holes in 1/4" steel using a bimetallic holesaw - excellent combo of power & size.
E) An auto darkening welding hood significantly increased my weld accuracy & quality. Again, buy a good one that reacts quickly - hard to sail blind.
F) an old farmer friend showed me that a 2x4 was a great tool for moving, positioning, persuading sheet steel. Use it as a lever - you'll be amazed.
G) a very short tack weld will carry 1/2 T - and if only done on one side/edge, is easy to break off later by twisting open. Great for putting grab points on steel plate when you're tugging it into position.
H) Build fair as you go - leaving to correct later will only creates compromises.
I) I can produce a work of art - and spend 20 years doing it - or produce a solid good looking job - and be sailing before I retire. I can also build most anything - cleats, hatches, u-bolts - but spend more time in order to do so.
Buy - hatches, ports, windows, windlasses, dorade scoops, deck fill plates (diesel, fresh water, waste) heater exhaust stack, prop shaft seal
Build - anchor rollers, line chocks, rudder port, propane lockers, main hatch cover and doors, rudder tiller arm, dorade boxes
J) Steel curves towards applied heat - running a weld bead (or a cutting torch) down the center of an unconstrained flat plate will cause it to curve towards the welded side, along the axis of the weld. A unconstrained butt joint will pull towards the first side welded (so when welding hull plate always start from the inside!) If you want a fair hull - constrain all butt joints with short pieces of straight bar across the joint about every 3 inches. It's a pain to do - but a lot less work that fixing it after the fact.
K) Cobalt drill bits cost more - but don't bend when leaned upon, and stay sharp longer. Titanimum was okay, but quality has really trended down - bent lots, especially 3/16" or under. Since switching to cobalt, haven't bent a bit.
L) There are selfing drilling screws that will go through plywood, then thru 1/4" steel - tap the steel - and snug itself up, all in one motion - excellent for securing floors or panels. And, they come in stainless. Tek screws, distributed across North America by Fastenal.
M) Teks are expensive, so you might not want to use them everywhere - Fastenal also sources self drilling taps - drills and threads in one pass. Have a tendency to jam & break in tight quarters
N) wrestled to get enough primer on the interior to properly seal against water - boatyard recommended and applied Interprotect 2000E - found I needed to overcoat to get real waterproof seal - I found Interprotect, even professionally applied, to be a marginal product, especially after I went to the commercial product lines from the same manufacturer!. Used International Intergard 264 - perfect interior seal, and it's an anti-corrosion primer that comes in 5 gal pails at 1/2 the cost - would go straight to that as primer/paint for interior next time.
O) You'll need a metal to wood glue for nailing strips, bulkheads etc - I found Lepage PL Premium worked well - good grab, good working time, and if you have to take anything part, chances are the wood will tear before the adhesive does. I used a fair amount of PL premium polyurethane for general interior construction - cheap, easy, great strength, great gap filling, good grab, works well with wood, steel foam. Used securing nailers to frames, when cross laminating the really big bulkheads because there isn't an opening in the boat that would allow us to get in it in one piece - max is 44". Found the PL Premium didn't have enough holding power when sheathing same bulkheads in lino/thin teak - but the PL Premium plus did - 4x the grab, but harder to get really flat. Ended up using Titebond III on thin facing material - requires decent clamping.
P) After the fact, figured out that welding in deck fittings is always better than bolting them in - I cannot believe how water can work it's way in thru well bedded fittings or even screws threaded into the deck itself. Minimize the number of bolted deck fittings - definitely weld everything possible for deck fittings. And if you want the welds to be pretty, and the shiny SS parts to have minimum heat impacts (and no weld splatter) - USE A TIG!
Q) best thruhull contruction - get a threaded 316 SS pipe nipple 8" long - cut it in half - and you have two 4" long through hulls ready to weld in place. Cut a hole large enough to give about 1/16" clearance all around the nipple, project the pipe just proud of the hull, and weld using 309L rod or wire, inside and out. Double with an interior doughnut of 3/16" - 1/4" steel. Simple and strong.
R) Foaming - I believe the best form of insulation for a steel hull is spray foam. Hull needs to be sand blasted and painted inside before foaming. Nailing strips also need to be in place before - I bolted or screwed high loaded areas (bulkheads, seats, cabinet areas), glued in blocks for ceilings. Mask the nailing strip surfaces you'll want clean of foam later - makes the clean up much easier - blue masking tape works well.
1) If you foam, and they spray lots to get good coverage, you'll likely end up carving foam back in order to get wood working clearance - best tool is a bread knife - actually sold in hardware stores as a insulation cutting knife.
- heard of others using a heavy sanding disc on a variable speed orbital sander - huge dust maker, but did a goood looking job.
- I made some use of a electric planer with a vacuum attachment - limited depth of cut, and only really decent on flat surfaces.
- well, after I'd done the major foam carving, I bought a Fein Multimaster for some cabinet work - and decided to try the scraper on some foam that needed a bit more trimming - best tool yet for carving foam, almost no dust, very clean smooth surface left afterwards. So if doing it all again, I'd use a combo of bread knife and Multimaster.
2) I foamed down below the waterline to minimize heat loss/condensation in that area. Kept a clear path 1 stringer out from centerline the length of the bilge for any water to drain through to a central sump - all the water that enters the inside has a path to that sump. But I spent months carving and sealing the foam just below the waterline/floorboards, to get all the humps out and ensure any water coming down over the foam would never get to just sit there. It looks good, and I'm happy with the final result - but next time, I'd save us the extra months of work, and stop the foam at the turn of the bilge. Means you also must have drain holes through all stringers between every frame below floorboards
S) I wasted time and money by NOT using good two sided teak ply when roughing in my interior bulkheads - so rather than templating and fitting once, I've done every bulkhead basically 3 times - the initial rough in, and a finish surface on each side - plus the total cost is likely going to be higher the way I did it. Yes we'd have to have masked them off for both foam and insulating paint- but I did that anyways!
T) Need to match the teak being applied - I love dark wide grained teak - but it's incredibly obvious when we stick a sheet of uniform fine grained teak up against what we have installed - so make sure you have a steady supply of whatever you decide to start installing! (I am at 16 sheets of teak - and counting)
U) There are multiple thicknesses of cedar strip (great for lining the complex interior shape of the radius chine) - and while the cheap thin knotty grade is fine for behind cabinetry, it's greater flexibility requires more intermediate support - while the more expensive 3/8" thick grades (of the 3" cedar strip) with it's heavier tongue and groove, is stiffer, more forgiving to handle, and easier to hide the face nails on. 10x the cost, but still worth it in many areas.
V) An automotive panel template is an excellent tool for rapid templating of deep curves (like the radius chine whenever you're fitting a bulkhead)

W) I committed myself to teak by installing teak plywood before I'd priced decent solid teak (for cabinetry) - and was totally amazed at how good Burmese teak had quadrupled in price since the last time I finished a hull. Look at the solid wood availabililty and costs before committing - cherry looks excellent, and would have been significantly cheaper.
X) In the end I did find a source of rough 4/4 teak shorts - was only twice the cost of cherry - but then I had to go get a planer....and lots of spare blades. Teak dulls blades fast.
Y) Both cedar and teak (!) darken in direct sun. Was surprised at some of the nicest looking rough teak boards showing definite blond streaks after planing. A day in bright sun, and they darkened back to what teak should look like.
Z) In several places, I was happy just to use G1S sanded plywood - bunk tops, back of cabinets - and was expecting to slap a coat of off white washable latex on top just to seal and protect them - after all, it was only going to end up under a cushion......Wife grabbed some varnish to seal them - and after 3 coats (which is what it took to get a solid seal), they looked significantly better than my latex would have. Definitely gives the impression of a better finished job (even though the difference in effort is very small)
AA) where it could fit for dividers, or partial bulkheads within the cabinets, I used cabinet makers birch ply - could only get it in 5'x 5' sheets so it didn't work in too well around 6"-6" bunks, but it has far finer plys, and finishes up a little nicer than the standard fir/hemlock/pine ply locally available. Inside of helm console, drawers, etc.
BB) Bigger boats require bigger rigging.....and there is a significant break point in hardware sizing and pricing between a 45ft and a 50 ft boat. Standing rigging wire is just one example - not only do you need more, but the price climbs almost vertically once you go past 3/8" diameter - which will just do a normal 45ft sailboat. Same for sails, running rigging, all deck gear - Think twice about going past 45ft length.